How to manage expense settings
Step 1: Make sure you have administrator permissions for “Expense claims”.
If you can see Expenses in the main navigation and have these five items in the menu, then you have the permissions you need.

If you don’t have these permissions and you are an administrator, you can change this in Settings → Users.

Click on your account and make sure you have “Approve”, “Payments” and “Upload” under Expense claims.

If you also want to submit expenses for yourself, you must first create an employee in your own name. Click on “Expense claims” and then “Permissions” in the left menu, then you can create an employee for yourself by using your email address.

Step 2: Make sure that those who are able to upload expenses are set as employees and can log in.
Regardless of whether the person receives a salary from the company or not, they must be set as an employee in order to record their expenses. For some companies, this means adding people as employees who don’t receive a salary.
You can see an overview of which employees have accounts and permissions under Expense claims → Permissions.

Connect an employee with a user
If you have employees in the list above who don’t have login details, you can easily fix this by clicking “Invite employee to record expenses”. You may first need to set their e-mail address. In this way you will be able to link the employee to an existing user in the company or invite a new user.
The users you invite will be able to view their own expenses only. If you want to allow them to do more things in Bokio, you can adjust their user permissions. You can do this by clicking “Edit user”.
Note!
You can never upload expenses for another employee. Only the user linked to the employee can record expenses for that person.
Connect a user who has no employee
In the list of permissions above, there may be users who are not connected with any employee. To connect one of these users, you first need to create the missing employee and then connect them with the user according to the instructions for “Connect an employee to a user”.
Step 3: Add those who will be able to record expenses payments.
Most users cannot see the circled links in the menu above. They can do this only if they have the permission to administer payments. To give a user this permission, click “Edit users” from the permissions page. The “Payments" under Expense claims permission is required to administer payments.
Step 4: Decide how expenses should be approved
In Bokio, all documentation must be approved. However, if someone with approval permissions uploads an expense this is done automatically.
Option 1: The user has the permission to enter records and approve them. All expenses will then be approved automatically when they are submitted. The approval can still be amended in To do.
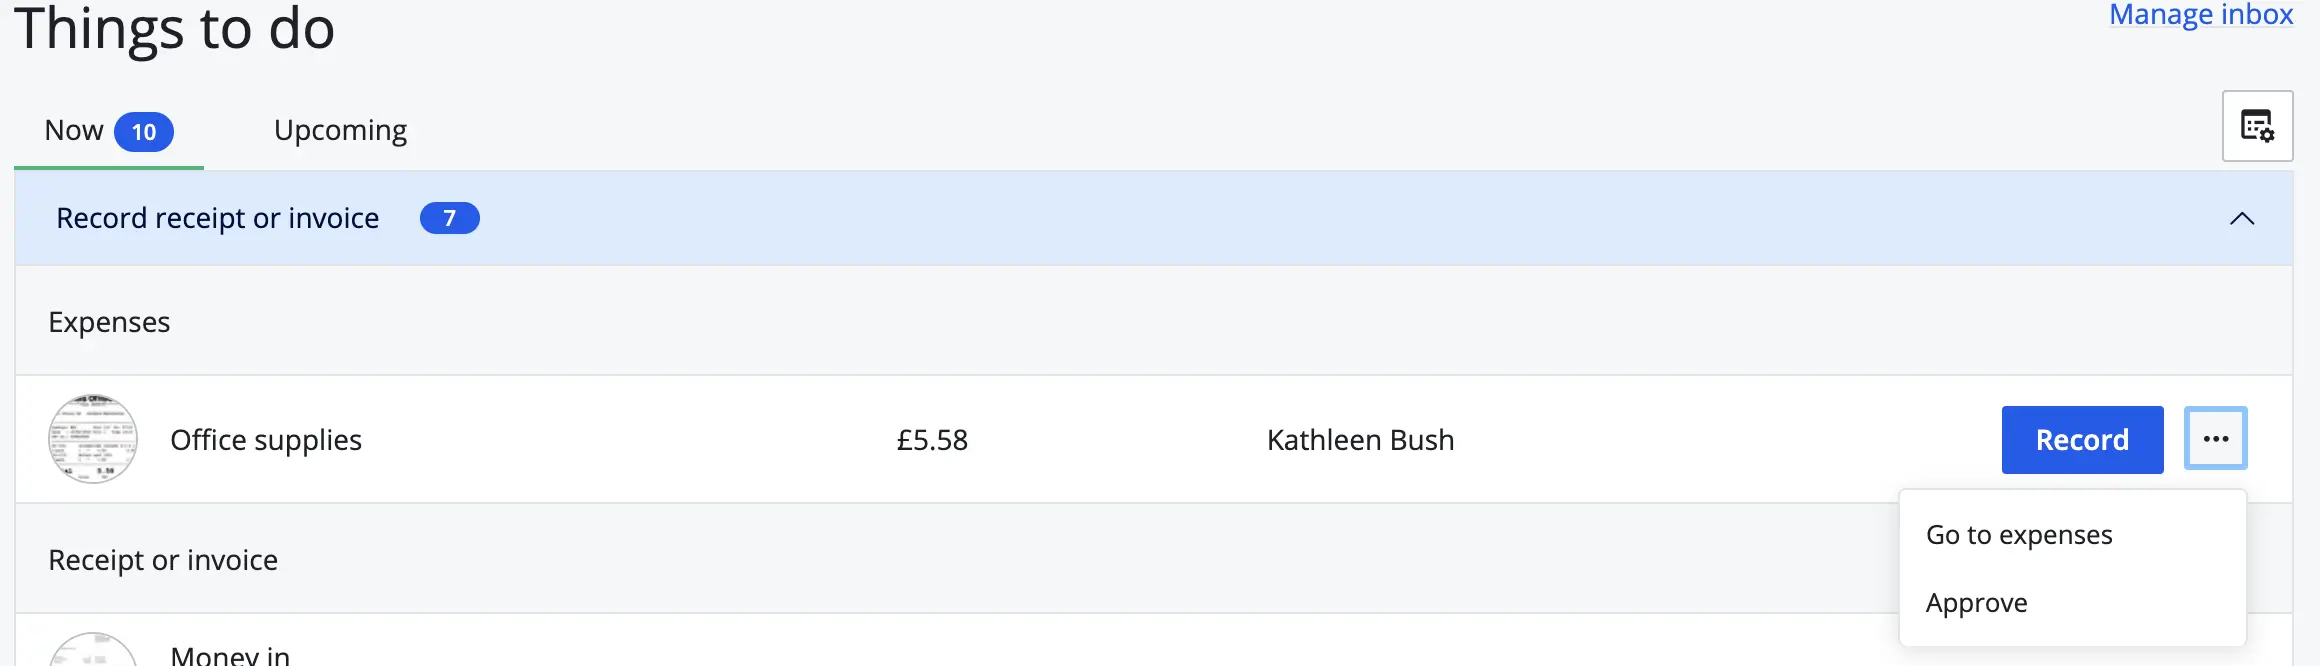

Click on "..." on the line of the expense. Select "Approve". You can then approve or reject the expense.
Option 2: No one has the permission to enter records and approve them. Someone will then need to approve the expenses before the bookkeeper records them.
Option 3: Everyone has the permission to approve. All expenses will then be approved automatically when they are uploaded. The approval can still be amended during the record process.